Zapier Integration
NOTE
In our example, we have chosen to have an email sent every time a new submission is received via our Bevy Design campaign.
To get set up, follow our detailed steps listed below. In minutes, you'll have your first Zapier automated workflow integrated with an Bevy Design campaign allowing you to return to other important tasks to build your business.

Navigate to the Integrations section on your Bevy Design dashboard.
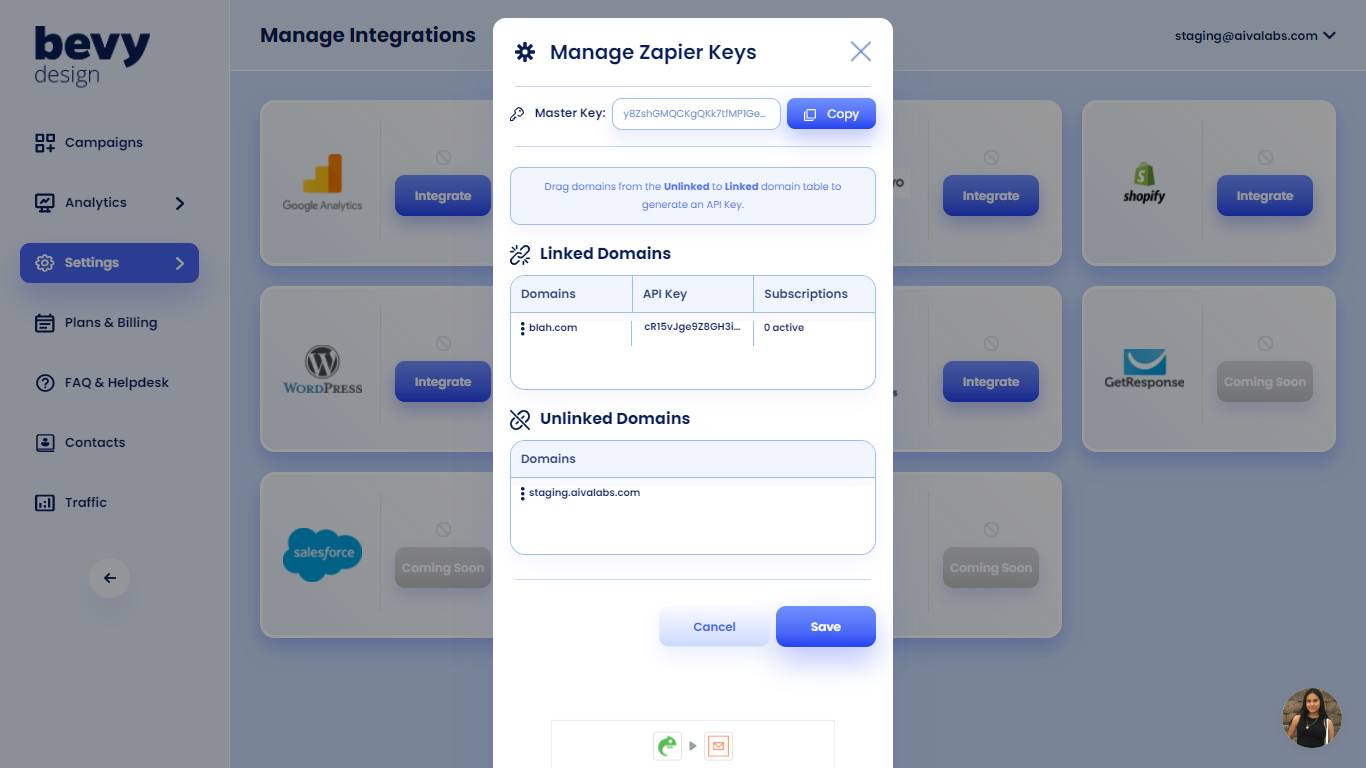
Select the Zapier integration option and use the Copy button to retrieve your API key.
Switch to your Zapier account and search for Bevy Design in the app search and click on the Bevy Design logo.
From the Bevy Design tile, click the ellipses for the menu options and select "+Reconnect Account".
This will launch a new window asking for the API key that you copied earlier from Bevy Design. Paste it into the required field and click "Yes, Continue" to proceed.
While still on the Zapier site, select Zaps from the menu to create an automated workflow.
Click on the "Make New Zap" button to get started.
First choose Bevy Design from "Your Apps".
Next, choose a trigger.
Select an account and click Save and Continue.
Choose which campaign to watch, click Continue.
Click Fetch and Continue. Test your Bevy Design trigger by fetching an existing submission.
If your test was successful, you can view your submission to make sure everything looks ok.
Hang on, we're almost done! Click Continue.
Next, it's time to set up the Action to your Trigger.
First, choose your action app.
Then choose an action, click Save and Continue.
Choose an account, click Save and Continue.
Set up a Template.
Click Continue to test your template and preview the output.
If you're happy, click Create and Continue.
Click Finish and you're all done!
Congratulations! You're first Zapier workflow with Bevy Design has been successfully created.
